I drive a 2013 Regular Cab Toyota Tacoma whose OEM sound system consists of two paper-coned 5 ½” door woofers, and 2 plastic-coned 1” door tweeters, a 12.5 watt-per-channel head unit, and next to no sound or vibration damping material. This disappointing combination makes for a particularly loud and unenjoyable experience during the 12-hour, 750-mile journey between school and home that I make several times a year. As a result, I am in the ongoing process of upgrading the general auditory experience in the cab somewhat significantly. This is the first in a series of projects that will accomplish this task.
To start this project, I bought a JBL speaker kit from crutchfield which was supposed to be an OEM fit. The kit (in theory) exactly replaced the original components, so it included two door woofers, two door tweeters, and a splitter to correctly wire them. Upon receiving the kit, however, I found out that crutchfield’s standards of “OEM fit” are below Toyota’s, and far below mine. The kit was actually intended for any car that had 1” tweeters and 5 ½” woofers, with no particular attention paid to my exact vehicle. This meant that a myriad of different, cheap mounting options was included to install the speakers. The compatibility was so poor that there was not a single option among these included mounting apparatuses that would allow the tweeters to fit in my doors.
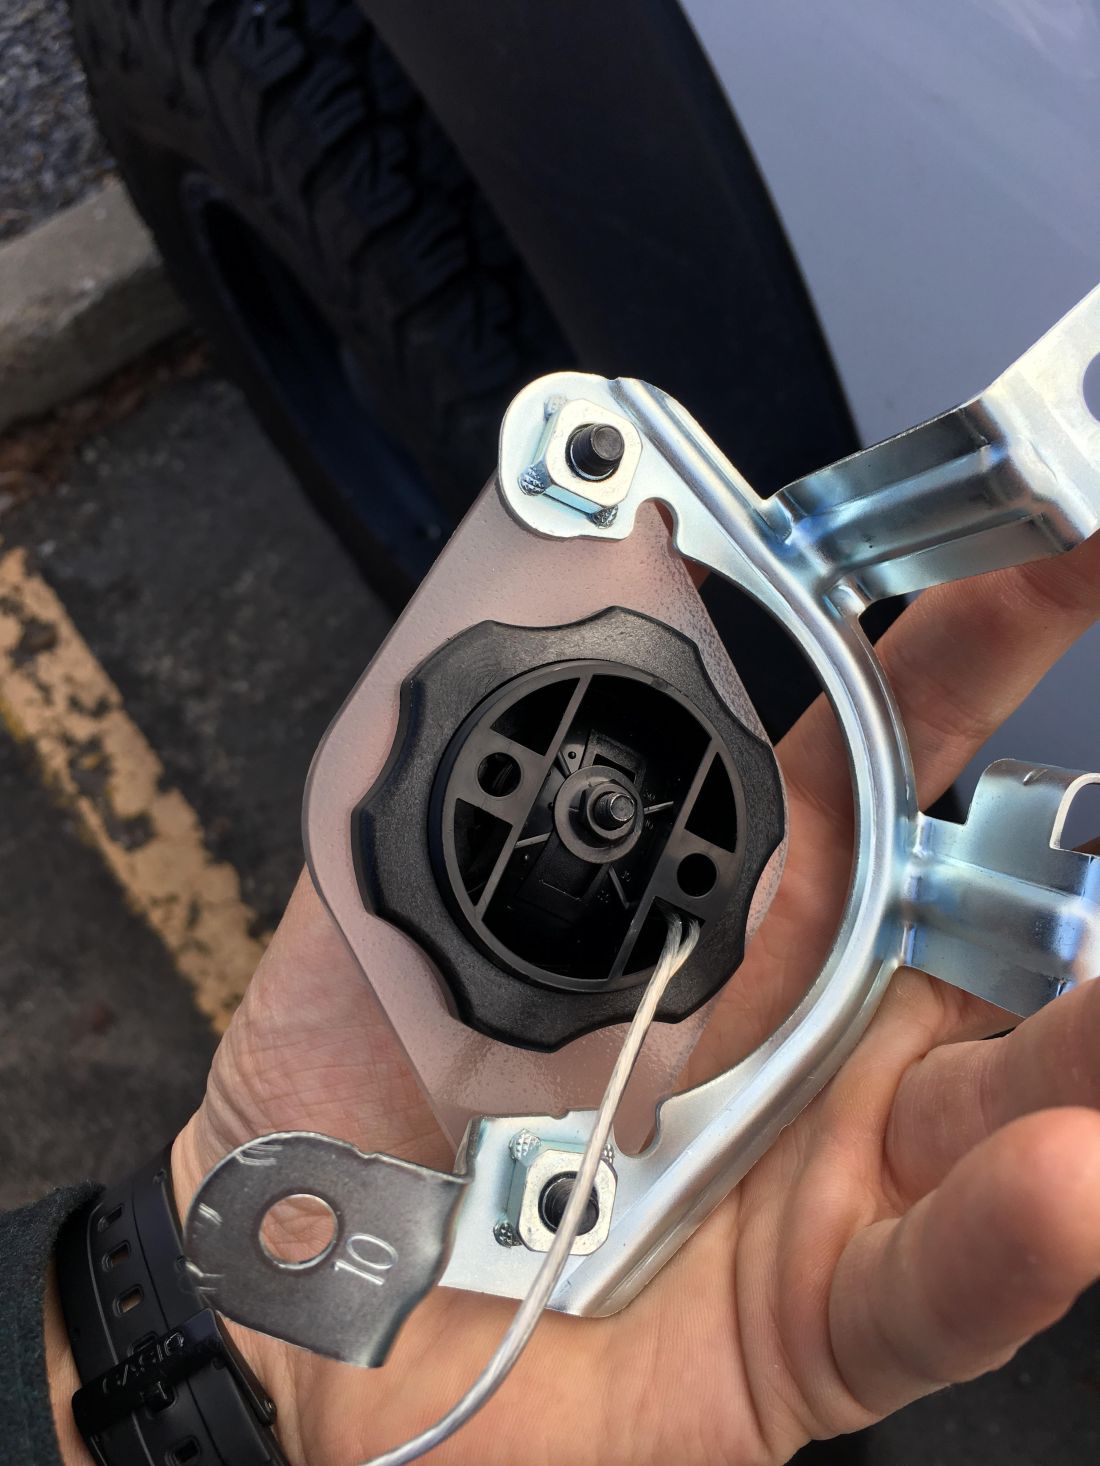
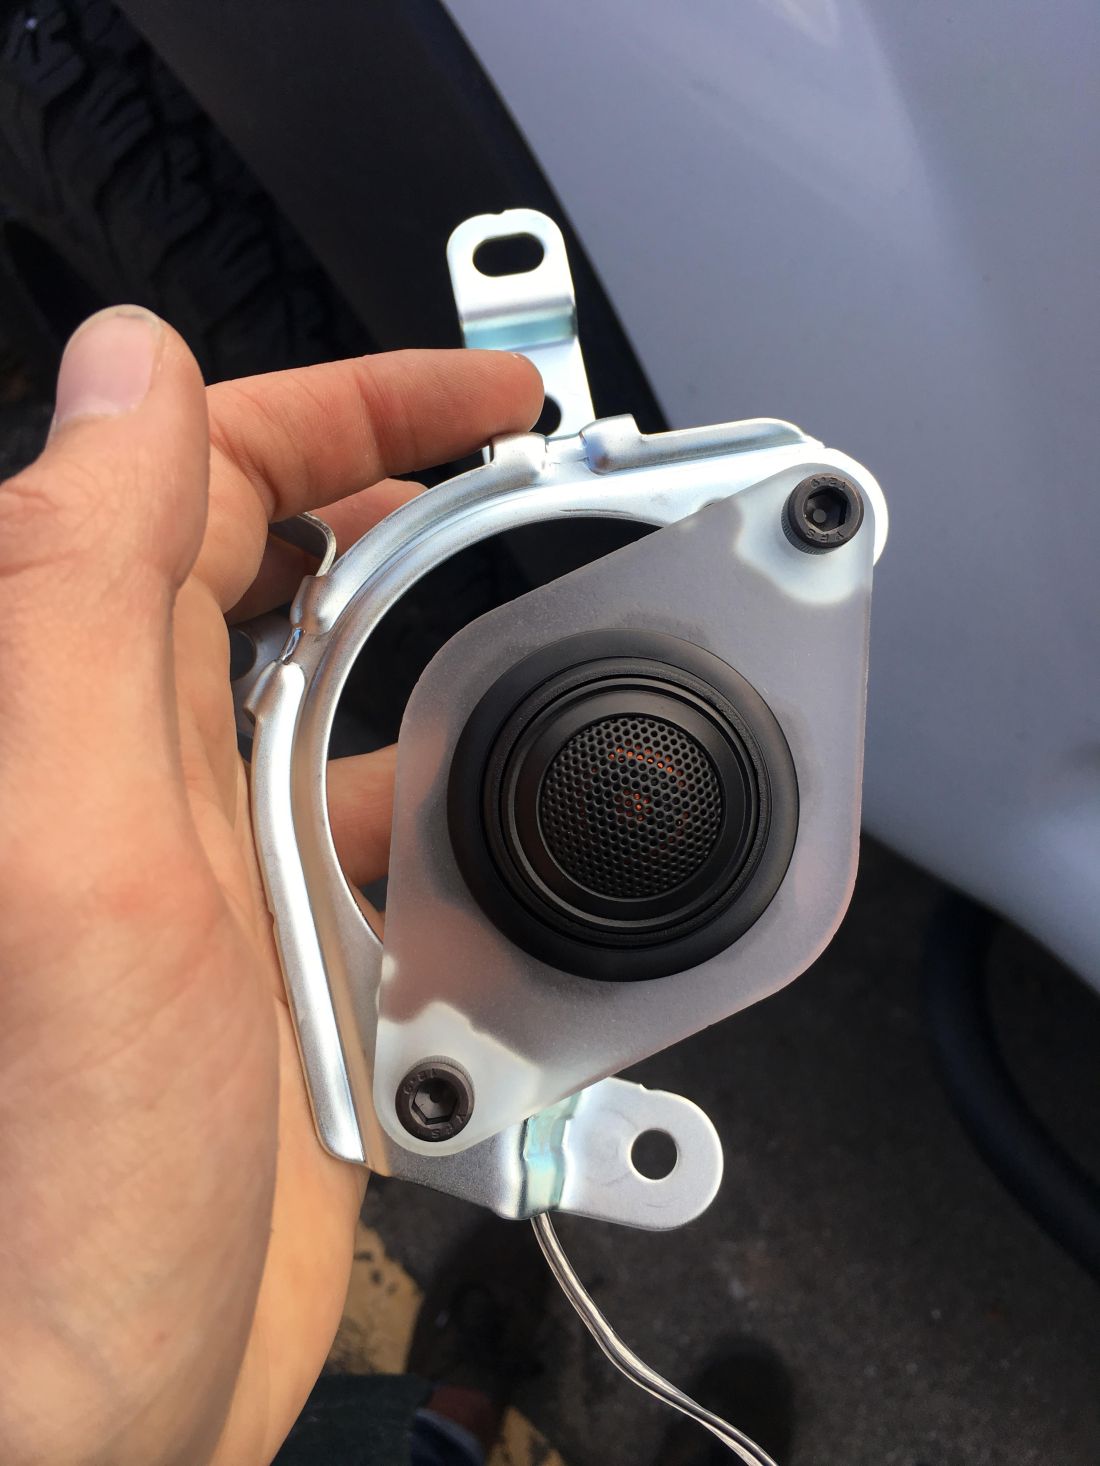
To remedy this, I decided to make a mounting system that I would be pleased with. The outside diameter of the tweeter had something like an M45x2mm thread pattern, and the original speaker mounted to the door with two M6x1.0mm bolts. I figured the best way to mount the tweeter would be to combine these two, so measured the door’s bolt-holes and drew an adapter in Solidworks. I then cut out the shape from ¼” acrylic on the free laser cutter in my school’s “make space.”
The adapter worked perfectly and did exactly what I had designed it to do. It is simple and robust, and unnoticeable unless the door panel is removed, which is exactly what I wanted. Below are some pictures of the adapter and the solidworks drawings.